
Nos derniers articles
Comment fonctionne un FAP ?
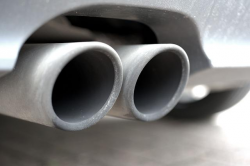
Le filtre à particules ou filtre anti-poussière est placé après le catalyseur (ou parfois le second catalyseur SCR) pour piéger les particules microscopiques produites par les moteurs diesel (et bientôt…
Puis-je nettoyer un convertisseur catalytique bouché ?
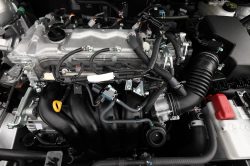
Utiliser du kérosène pour nettoyer votre convertisseur catalytique peut être un excellent moyen de réparer le système d’échappement d’une voiture obstruée. Ce liquide est un lubrifiant et a une très…
Comment choisir un scanner OBD pour contrôler sa voiture ?
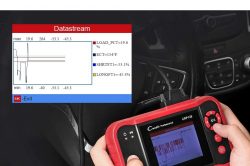
Quels sont les principaux facteurs à prendre en compte avant d’acheter un scanner OBD ? Vous devez rechercher des caractéristiques telles qu’une garantie à vie et des mises à jour…
Jeep Wrangler Rubicon Vs Toyota Camry
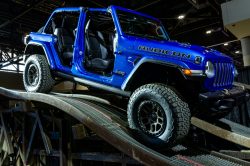
La Jeep Wrangler et la Jeep Rubicon sont toutes deux d’excellents véhicules tout-terrain. Toutes deux disposent de portes amovibles et de toits ouvrants. La Jeep Rubicon dispose également d’un toit…
Quelle est la meilleure Jeep Rubicon ou Wrangler ?

La première question à se poser est : quelle Jeep est la meilleure ? Le Wrangler et le Rubicon ont tous deux leurs avantages et leurs inconvénients. Le Wrangler est…
Comment régler le problème de voyant Renault Twingo qui s’allume ?
Vous pilotez votre voiture, puis vous constatez que le voyant Renault Twingo se met en route ? Logiquement, ceci peut arriver à chaque conducteur. C’est là un évènement vraiment classique…
Comment s’y prendre si toutefois le voyant lumineux de préchauffage est affiché sur Dacia Duster ?
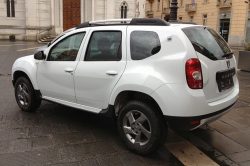
Les témoins sur le tableau de bord de la Dacia Duster sont multiples. Et à partir du moment où vous êtes au volant, il peut arriver que l’un d’eux se…
Comment faire si le voyant tableau de bord s’enclenche sur Lancia Ypsilon ?
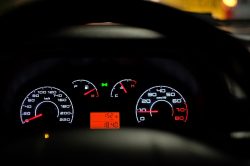
Sur une voiture, plusieurs dizaines de voyant lumineux qui sont susceptibles de s’allumer à tout moment. Et quand cela intervient, votre attention sera de mise. En effet, votre voiture vous…
Comment effectuer le diagnostic d’un moteur qui claque ?
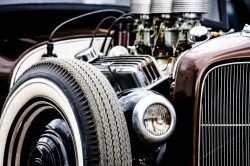
Lorsqu’un moteur claque, on entend des bruits assez étranges et inquiétants. Afin de comprendre ce qu’il se passe, il faut diagnostiquer l’origine de ce défaut. Ensuite, il faudra se rendre…